The following tips are based on the PhotoShop version 6.0, but similar tools existed in version 5.0 and I believe are still there in version 7.0.
Why do I want to select all the stars?
There are many reasons to select the stars in PhotoShop. Here are some:
Reduce star bloat
Increase color saturation for stars only
Make 100% saturated stars less saturated in the luminance layer
Process stars and the object of interest independently
The Method: This method is certainly not the only one possible, but I like it for its simplicity and excellent results. In summary, the idea is to use the Dust & Scratches tool in PS to remove the stars first, and then use the difference between the original and the star-less image to extract just the stars.
Here is the step-by-step description:
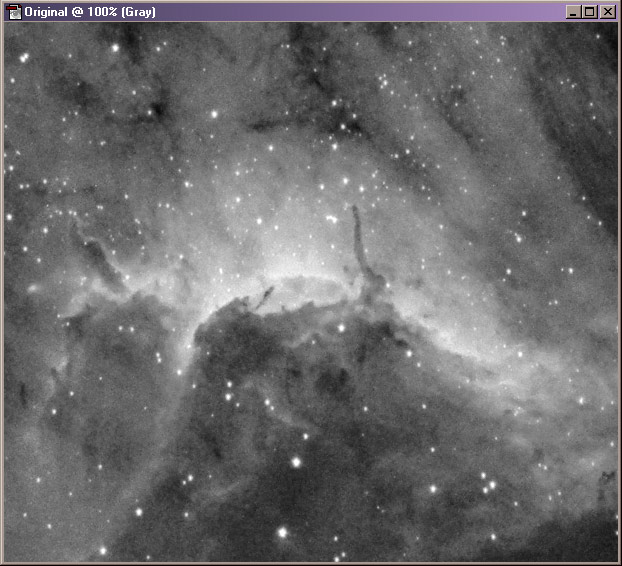
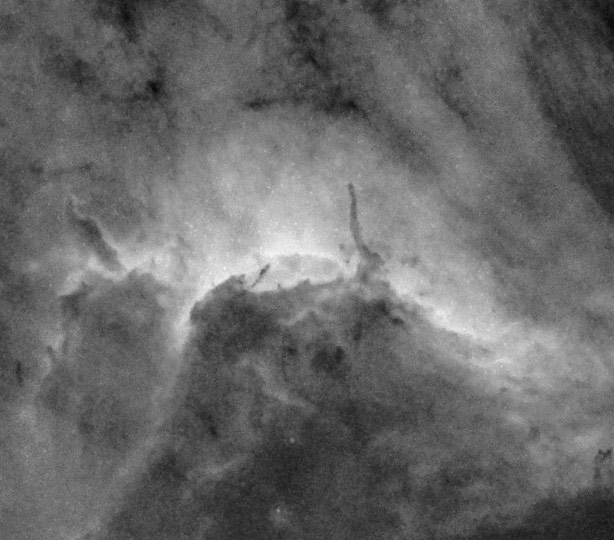
1. Load the original image. Convert it
to 8 bits:
2. Create two duplicates of the image (Image/Duplicate), call them Copy1 and Copy2.
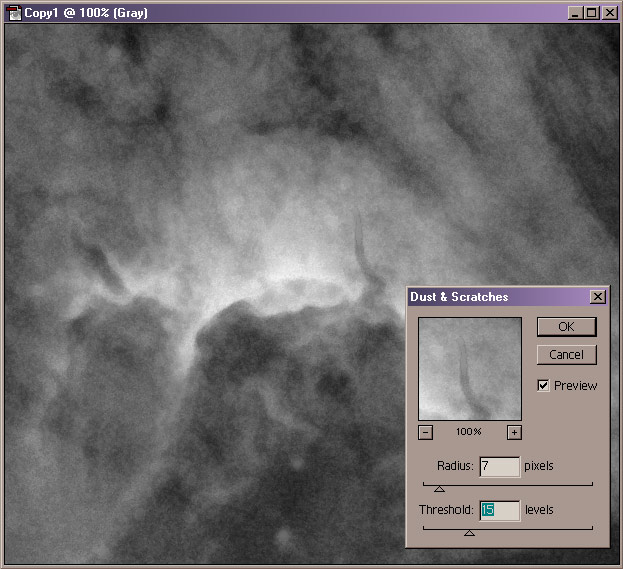
3. Invoke Filters/Noise/Dust & Scratches filter on Copy1. Increase Radius until all the stars disappear. Then, increase Threshold levels until the image looks normal, not blurred, and not blocky. If there's a bit of a star outline remaining, raise the radius a little, and then re-adjust the threshold value.:
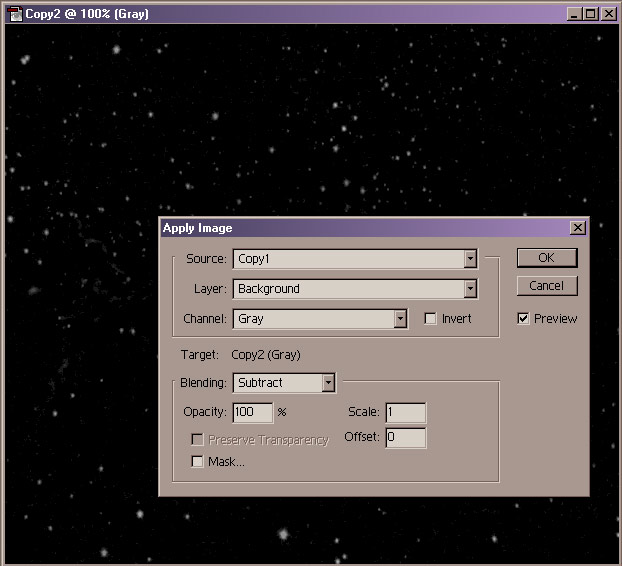
4. Now that we have a star-less image, subtract it from the original to get just the stars. Activate Copy2 image, and use Image/Apply Image command. Select Copy1 as the Source and Subtract as the Blending mode:
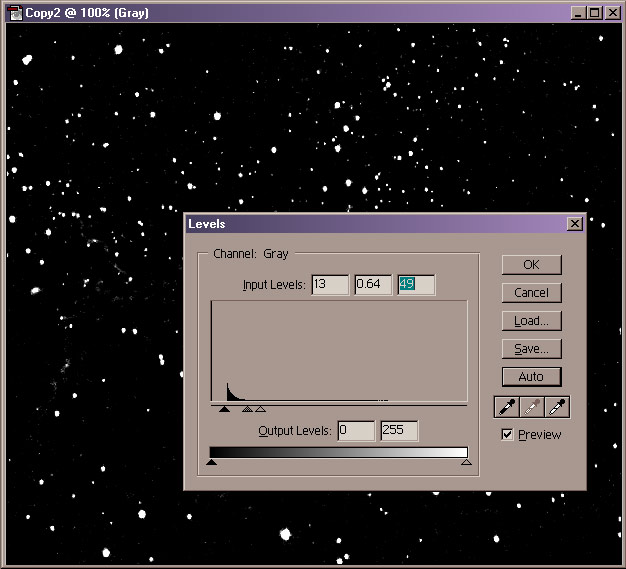
5. Now, Copy2 contains an image that mostly consists of stars, with maybe a little bit of the brighter portions of your object left in. Adjust levels on Copy1, so that only the stars remain: lower the white point, and raise the middle slider:
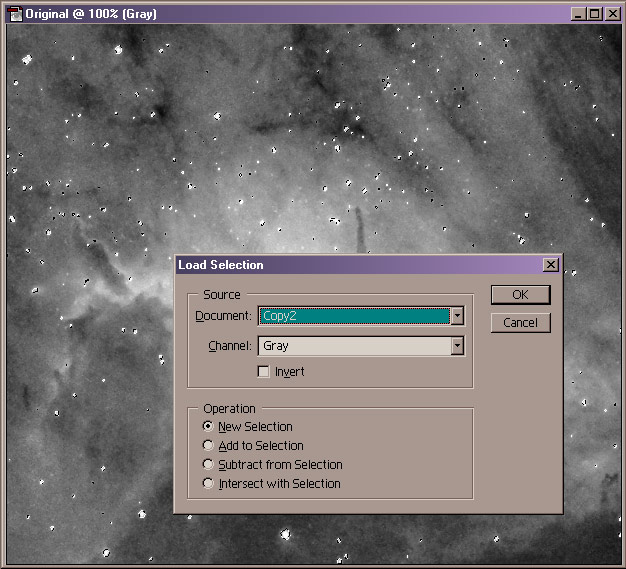
6. The star image is now ready to be used to select the stars. Activate the original image, and use the Select/Load Selection command. Set the Source Document to Copy2:
7. I usually increase the star selection a bit by using Select/Modify/Expand... command and entering 1-2 pixels. I then Feather the selection by the amount expanded (1-2 pixels).
8. Now, you're ready to operate on stars only! If you want to operate on the non-star objects instead, simply use Select/Inverse command. Here the result of applying the Minimum filter to the original image with only the stars selected:
That's all there is to it. Once you've separated the stars from the rest, many new possibilities open up for processing. You can, for example, sharpen the image without causing star halos. Or, you can raise the image contrast without saturating the stars. Or, you can [fill-in your favorite processing step here].
I'd love to hear if this was helpful to you, and if you have other tips or tricks that improve on this method.
Copyright © 2003 Paul Kanevsky