It's often desirable to stretch an image really hard to get the last bit of detail out of a faint nebulosity. An unfortunate side-effect of a hard stretch is that the stars in the image become bloated. Wouldn't it be nice to stretch an image, and then just copy the stars from an un-stretched original? Here is an example that shows how to do this in PhotoShop. This example utilizes the technique of star selection described here.
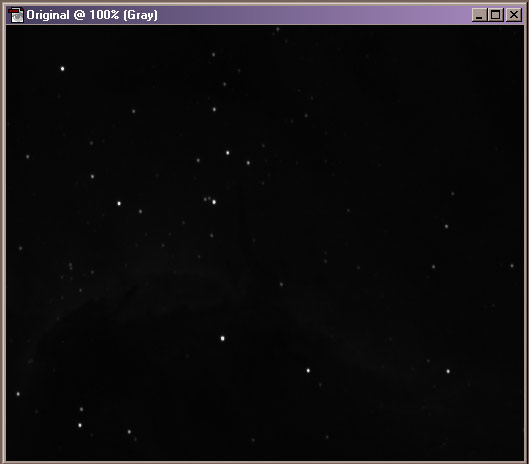
Load the original, 8-bit image into PS (notice the tiny stars). Normally, I'd apply a slight stretch to this to make more of the stars visible, but for this example I'll use the extreme case:
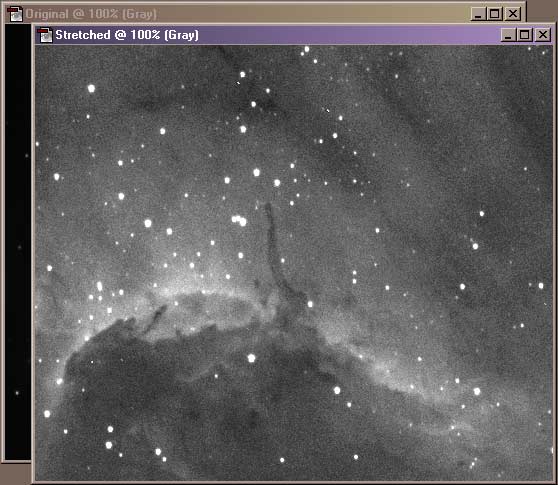
Now, duplicate the original image, and apply as hard a stretch as you like using Curves, Levels, etc. (notice the bloated stars):
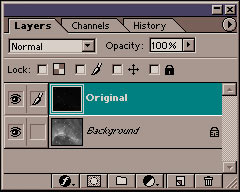
Copy the Original image and paste it on top of the Stretched image (it'll show up as a new layer):
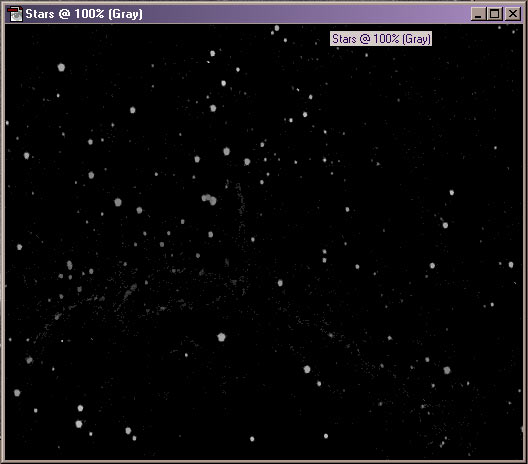
Now, using the technique described here create an image containing just the stars from the Stretched version:
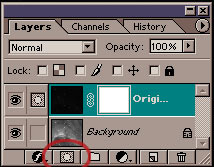
Select and copy the Stars image. Activate the two-layer image created earlier. Select the top layer (Original) and add a layer mask by clicking on the Add a Mask icon:
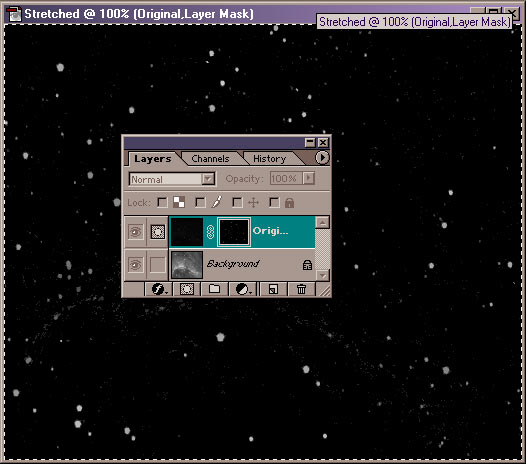
Activate the mask by holding down the Alt key and clicking on the mask (the empty white rectangle next to the original image layer in the above picture). Select Edit/Paste to paste the Stars image into the mask:
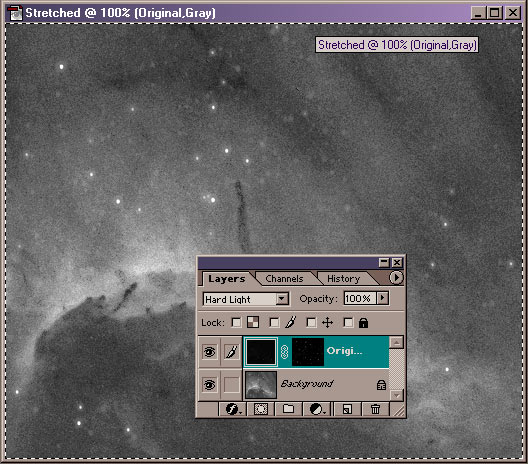
Click on the "eye" icon next to the Original layer to de-activate the mask. Set layer combine mode to Hard Light:
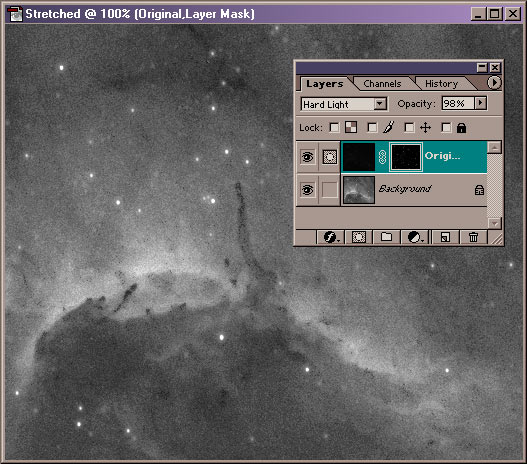
Notice that the stars are now a lot smaller, albeit with a bit of a halo. Adjust the Opacity of the second layer and the levels for the layer mask to reduce the halo:
Choose Layer/Flatten Image, and you're done!
Copyright © 2003 Paul Kanevsky